Ho ho ho! I love everything candy cane related, so obviously there had to be some kind of candy cane nail art for this holiday season. I think water marble is the perfect technique to achieve those lines and this is my favorite marble look anyway. I was wearing three coats of Essie - Fiji the other day, so I thought I'd keep it simple and just marble over what was already there. I added Essie - Need a Vacation and Fishnet Stockings to the mix and they worked lovely together. I didn't use any top coat this time.
Posts mit dem Label Rose werden angezeigt. Alle Posts anzeigen
Sonntag, 30. November 2014
Sonntag, 12. Oktober 2014
Plaid Nails / MoYou London Hipster Collection #05
It's time for some more plaid nails! I'm really happy with my MoYou London Hipster plate #05 and I could wear plaid nails for the rest of my life really. I decided to use H&M - Get A Rose 4 Me as my base color. It's just perfect for autumn! Then I did the stamping with Essie - Angora Cardi. Since the plate doesn't have simple lines, I free-handed them with a nail art brush and OPI - Skyfall. On top is one coat of Sally Hansen - Insta-Dri.
Donnerstag, 9. Oktober 2014
MoYou London Kaleidoscope #04 feat. Essie - Fiji
I found the perfect color match: Essie - Fiji and H&M - Get A Rose 4 Me. I'm pretty sure the last one isn't available in stores anymore, but they might have a new one these days. I combined those two with my new MoYou London Kaleidoscope plate #04 which I think is really adorable. I used three coats of Fiji and then stamped with Get A Rose 4 Me. On top is one coat of Sally Hansen - Insta-Dri.
Mittwoch, 12. September 2012
Dotted Flowers
Autumn is coming! You can tell so by the rainy weather and by the problems I have with the lighting in my photographs. Yesterday I tried doing a tutorial, prepared everything and started painting my nails when suddenly the blue sky turned to black and I couldn't see my own hands anymore. So I will postpone this one and instead show you some flower nails to say goodbye to summer.
As always with white, I used Essie - Blanc as a base and then grabbed my dotting tool and started dotting. The colors I used are the following: Essie - Mint Candy Apple, Essence - Walk On Air, China Glaze - Something Sweet and Essie - Lilacism.
I decided to leave the flowers very simple and just use three dots of each color to create them. Then added another dot in the middle of each flower and that's it. On top is one coat of Essie - Good To Go.
Sonntag, 9. September 2012
Leopard Skittle Nails & Tiny Tutorial
I had these colors selected for some nail art but then my first idea didn't really work out. So when nothing else works, I go for Leopard! But I didn't want to make it too boring, so I did some Skittle nails first and then added the Leopard pattern. I have included a very short "tutorial" at the end of this post.
The colors I chose as a base are from left to right: Essie - Mesmerized, Essie - Mint Candy Apple, Essence - Got A Secret and China Glaze - Something Sweet. On my thumb is simple white (Blanc). Then I added the color on the right side of each nail to do the leopard spots. I did them with the brush of each bottle, which works best for me and the leopard. Because those spots don't need to be perfect, in fact they should not be perfect at all.
It's different with the black surroundings of the spots, they take a little bit more effort to create a real leopard look. But even with that effort it's a fast design which has a great effect.
So here's my tiny 3-step tutorial, I hope you like it!
I was wondering for which kind of design you would like a tutorial? I know tutorials are quite popular and I like doing them, but I'm not sure which design you would like to see. The leopard one is more of an exercise for me, since I guess leopard nails tutorials are all over the web now. So please leave me a comment if you're looking for a tutorial on something I did in the past or even something new you would like me to try. Thanks!
Freitag, 7. September 2012
2 Broke Girls Nail Art
I have recently discovered a new show on TV: 2 Broke Girls on CBS. I absolutely love the show and it actually caught my eye because Kat Dennings aka Max really reminded me of my dear Regina Spektor. Max is my favorite actress of the show, love her humour! Make sure to watch an episode someday soon to check if it's your kind of series as well! Season 2 will start on 24th of September.
So I decided to do some nail art based on the show. If you have seen it, you know that the dresses of the two waitresses are really eye-catching. That's why I decided to make them a central piece of the design. I used American Apparel - Summer Peach for the skin and yellow and red acrylic paint to do the dresses. I didn't dare trying to paint the boobs so it's not quite right... ;)
For my other nails I chose the show's logo composed of a white and a pink writing. Both are done with acrylic paint and it took my quite some time to get an even covering over my black base (Wet 'n' Wild - Black Creme). Since Max and Caroline want to start a Cupcake Business, I decorated my thumb with a cupcake. This was actually my first time doing cupcake nails and I took Simply Rins nails as a guideline.
I used Essence - White Stamping Polish as a base and then added the topping with China Glaze - Something Sweet. The cup is done with red acrylic paint and the sprinkles come from my new nail art glitters (check my Facebook to see what I got yesterday!). On top of every nail is one coat of Essie - Good To Go.
Sonntag, 26. August 2012
Pretty Little Liars - Jenna Nail Art - Polka Dots & Ruffian
Are you a fan of Pretty Little Liars? On this week's episode I spotted some nail art on Jenna's nails, in the scene where she ate cherries in front of the school. I couldn't completely see her design but I figured it would look something like a pink ruffian with polka dots. I decided to recreate it for my blog, because it really caught my eye.
I started with two coats of pastel rose China Glaze - Something Sweet. Then I freehanded the curve with one coat of Wet 'N' Wild - Black Crème which worked really good. After that, my most dreaded nail art technique, polka dots! I almost never succeed at dots with the same size on each nail. But at least I was able to place them in a regular pattern onto my nails. For the dots I used Essie - Blanc.
On top there is one coat of Revlon Quick Dry Top Coat which smudged a tiny spot on my index finger nail.
This was not the first time that I've seen something pretty on Pretty Little Liars and they do have some fancy nail art designs sometimes. So I'll keep my eyes open for the next one to come along, hopefully not on Jenna's nails since actually I can't stand her.
What's your trick to create equal polka dots on each nail?
Sonntag, 12. August 2012
Pastel Watercolor Nails
As promised the next version of my watercolor nails, done with a plastic bag just like my first try.
I started with Essie - Blanc again to create an even base and then added blobs with the following nail polishes:
China Glaze - Something Sweet
China Glaze - Lemon Fizz
China Glaze - Re-Fresh Mint
Manhattan - 81C
One coat of Revlon Quick Dry Top Coat on top.
Sonntag, 8. Juli 2012
Tony Moly - Pinky Star / GS10
As promised, Tony Moly - Pinky Star. Not my favorite one but pretty nonetheless!
You will need a base color for this one as well. I chose China Glaze - Something Sweet.
Two coats of China Glaze - Something Sweet and one coat of Tony Moly - Pinky Star.
One coat of Seche Vite on top.
Next up is my favorite Tony Moly nail polish out of the ones I bought on Ebay: Shooting Star. Stay tuned!
Freitag, 15. Juni 2012
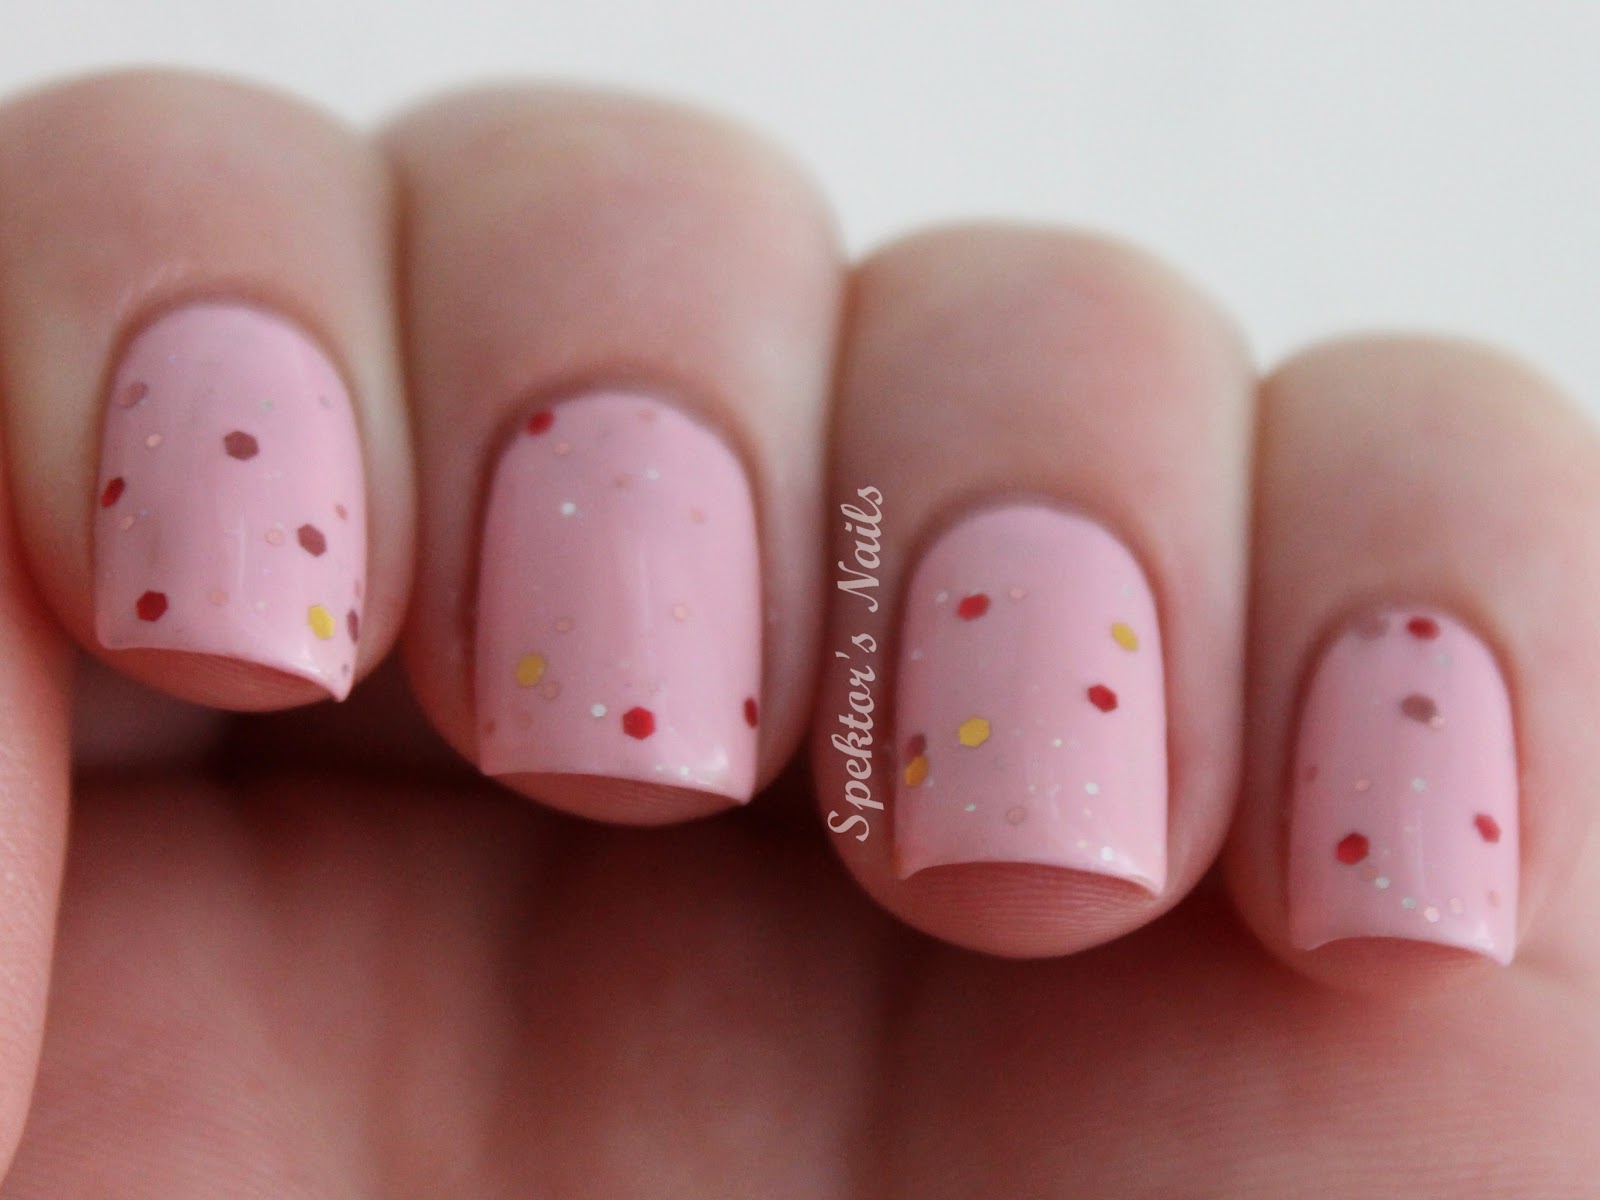
Glitter Sandwich: China Glaze - Something Sweet / Essence - Circus Confetti / Essence - Sweet As Candy
Glitter Sandwiches are really getting on top of my nail art hit list! Especially light blue and rose are my favorite ones.
For this one I used two coats of China Glaze - Something Sweet, one coat of Essence - Circus Confetti and one coat of Essence - Sweet As Candy on top.
Circus Confetti looks awesome in a sandwich! Take a look at my light blue glitter sandwich as well.
On top one coat of Seche Vite as always.
And just to make you a tiny bit curious... I'm planning a giveaway since I've hit 500 GFC Followers this week! Thank you so much for your support!
Let's just say, there will be a rainbow involved... ;)
Montag, 11. Juni 2012
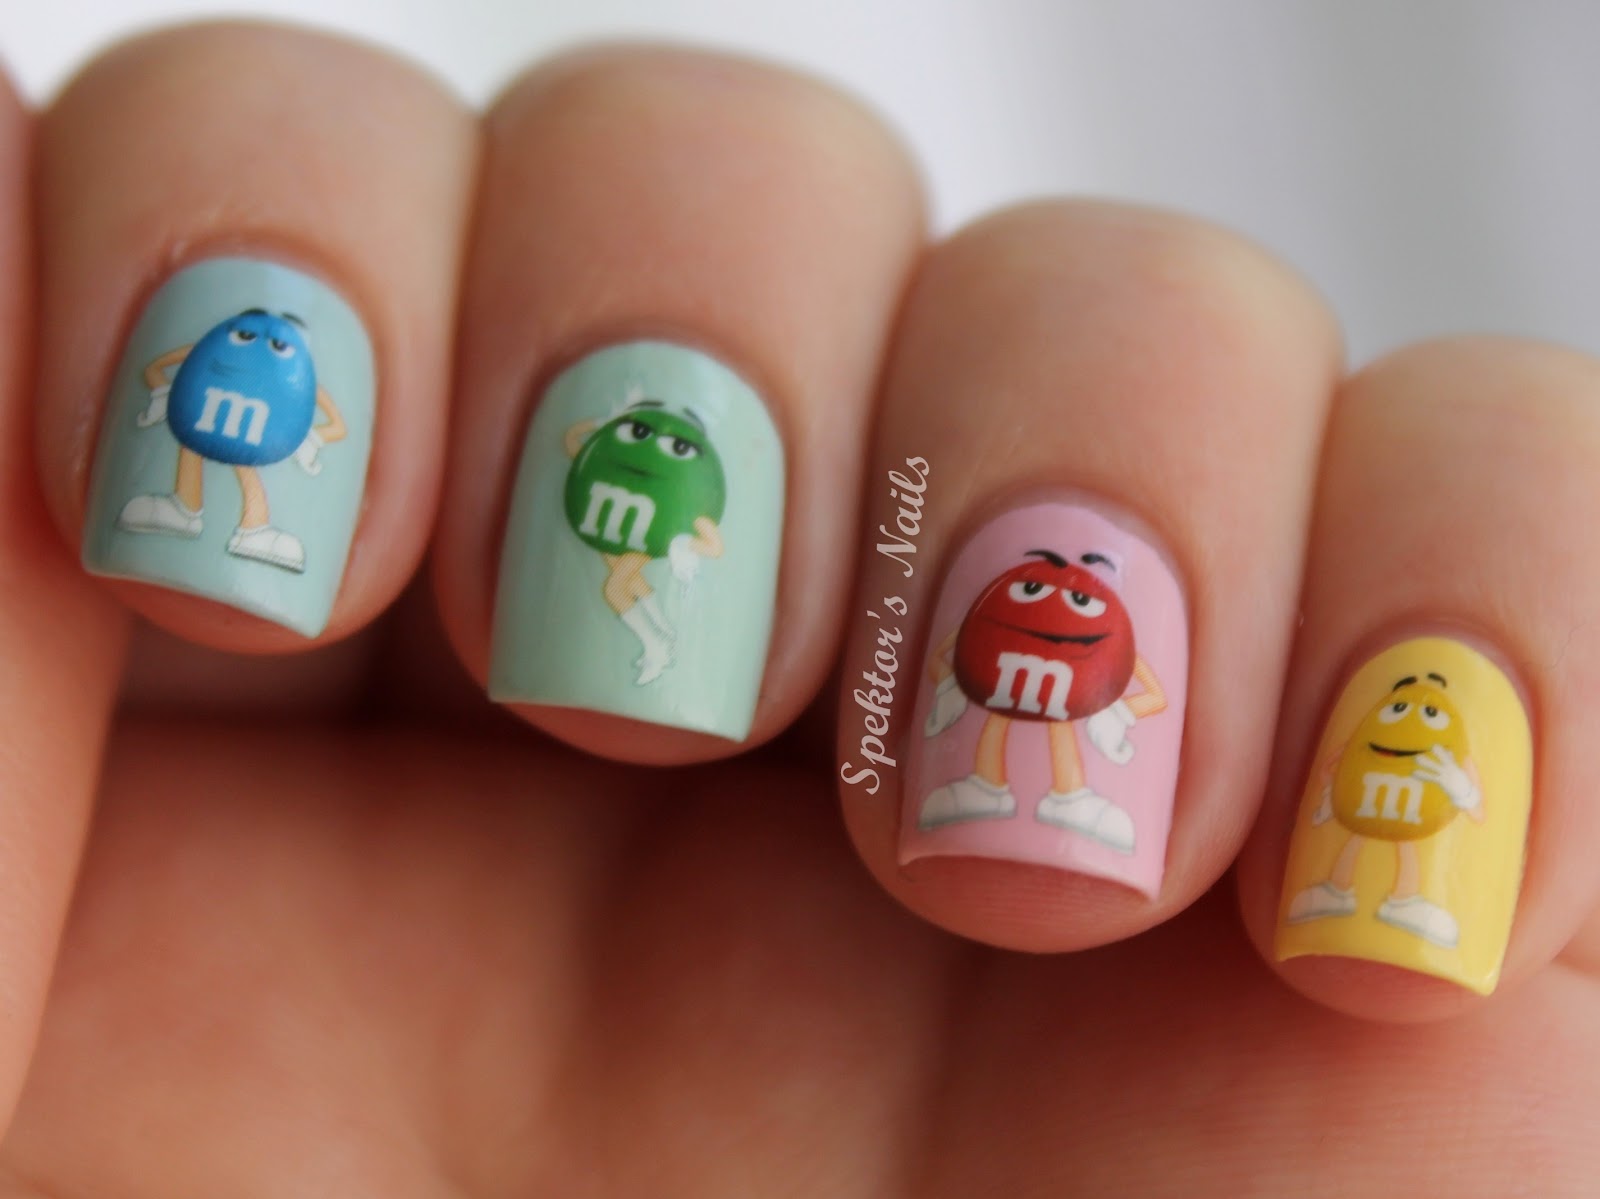
M&M's / Rainbow Nails
M&M's! Yay!
I've seen those water decals last week at Chez Delaney's and I just had to order them. They're listed as 'HQ Water Decal K157'.
I decided to put them on a rainbow of pastels, each decal on its pastel twin color.
From left to right:
Essence - Speed Of Light Blue
China Glaze - Re-Fresh Mint
China Glaze - Something Sweet
China Glaze - Lemon Fizz
I used one coat of Star Nail - Nail Art Finishing Sealer on top. Application of the decals was flawless!
Donnerstag, 10. Mai 2012
Fancy Pusheen Nails
Do you know Pusheen the cat? If not you should take a look at this website!
It's the most cutest cat and a dear friend suggested I should do a Pusheen design. Here you go!
I used 3 coats of China Glaze - Something Sweet as a base color. I had no problems with drying time and added one coat of Seche Vite on each nail. I think Something Sweet has quite a good formula since I expected otherwise. Pastels are not too great in general and I heard a lot of people complain about this one. But it was the first time I used it, so time will tell if the formula stays good.
I used a picture from the 'Fancy Pusheen' as a guidance and painted with acrylic paint. This was the first time I used acrylic paint for nail art and I think it's awesome! It works much better and dries very quickly. And you can mix your own colors, no need to search through your nail polish collection for the perfect color!
I used the usual nail art/painting brushes I have at home but I might get some more brushes to build up a good selection.
Thanks for reading! <3
Montag, 26. März 2012
Japanese Cherry Blossom
This design was actually inspired by the Japanese Cherry Blossom series from The Body Shop. Perfect for spring and the lovely weather outside.
Since I don't have an opaque pastel pink nail polish I chose a white one as a base color and then mixed together my lightest pink from Catrice (Sweets For My Sweets) and some white nail polish. I used a sponge to apply it to the white base and got a really nice pastel pink background for my cherry blossoms.
For the branches I used Catrice - Lost In Mud and the long nail art brush from Essence. For the flowers I used three colors: China Glaze - Snow, H&M - Check Me Out and Catrice - Raspberry Field Forever. I made random spots with the white color, then added some of the lighter pink and a small spot of the darker pink in the middle. Then again a tiny bit of white in each flower.
One coat of BTGN Top Sealer to protect the design.
Freitag, 17. Februar 2012
NOTD: Roses
A little late for Valentine's Day - but roses are always nice, aren't they?
I can't really give credit on this design since I don't know who it is originally from. It's all over the web in various styles and you will find a lot of tutorials on YouTube. If you know the original artist, please leave a comment and I will edit my post.
I used Essie - Mint Candy Apple as a base coat and added the roses with Catrice - Raspberry Fields Forever and Sweets For My Sweets. They're all done with a nail art brush. The roses came out a little more abstract than I hoped they would but I think this design looks better from a little distance.
As always one coat of BTGN Top Sealer.
Tomorrow I have some swatches of a new Catrice nail polish for you, stay tuned!
Sonntag, 5. Februar 2012
NOTD: Valentine's Day 2 - English Rose
I already blogged about this foil a few months back but I think it is perfect for a Valentine's Day design. Besides I improved my technique and equipment since I last used these foils.
I added two coats of China Glaze - Snow as a basecoat. I use the nail foil adhesive from Naildelights and it works great. You apply it and let it dry for about 5 minutes. Then you press the pre-cut foil gently onto the sticky nail until the design starts to peel off the clear foil.
Then I added one coat of Star Nail - Nail Art Finishing Sealer and one coat of BTGN Top Sealer.
Abonnieren
Posts (Atom)