Posts mit dem Label Yellow werden angezeigt. Alle Posts anzeigen

Sonntag, 29. Juni 2014

Spring/Summer Splatter Nails

I haven't done splatter nails in a while and I thought I could include one of my new neons from the Maybelline Bleached Neons collection in a cute spring and summer neon splatter design. You can find out more about how I create splatter nails in my tutorial for DIY Decals. For this one I used Flormar - 400 as my base and then added Maybelline - Chic Chartreuse, Essie - Shake Your $$ Makers, Essie - Lights and Flormar - N006. The first pictures shows the design with a shiny top coat and in the second I'm wearing one coat of Essie - Matte About You on top. 

Spring/Summer Splatter Nails

Spring/Summer Splatter Nails

Sonntag, 11. Mai 2014

(Piñata) Water Marble

Time for some water marble! This is one of those designs where I saw some bottles standing around on my table and felt like they would look cute combined. At first I wanted to add green to it as well, since I wanted to do something Piñata inspired. But the green didn't work for the water marble technique (check out my water marble basics here!) so I just used these three colors: OPI - Hey Baby, OPI - I Just Can't Cope-acabana and H&M - Car Paint Purple. On top is one coat of Essence - BTGN High Gloss. 

(Piñata) Water Marble

(Piñata) Water Marble

(Piñata) Water Marble

Sonntag, 30. März 2014

Striped Nails

I used two coats of Flormar - 400 as my base and then added stripes with a nail art brush and a lot of colors: Flormar - N006,  Essie - Mint Candy Apple, Essie - Avenue Maintain, OPI - AmazON...AmazOff and Sally Hansen - So-Nata Problem. On top is one coat of Essence - BTGN High Gloss.

Striped Nails

Striped Nails

Striped Nails

Sonntag, 16. Februar 2014

OPI Brazil Collection 2014 - Nail Art

Some hearts on top of two coats of OPI - I Just Can't Cope-acabana from the Brazil Collection for Spring/Summer 2014, painted with AmazON...AmazOff and Where Did  Suzi's Man-go? The collection will be available in Switzerland from the 24th of February. More about OPI Swiss. 

Products were provided for review.

OPI Brazil Collection 2014 - Nail Art

OPI Brazil Collection 2014 - Nail Art

Mittwoch, 22. Januar 2014

Roy Lichtenstein Pop Art Nails - MoYou London Pro Collection #10

I was a bit disappointed about the size of my MoYou London plates from the Pro Collection #10 because they are really small for my thumb nails (my fault though, I didn't read the description!). So I thought the best way to use these images would be a skittle manicure, so that I could design every nail in a different way. Roy Lichtenstein / Pop Art is a great way of doing skittle nails, since everything is colorful anyway. I prepared some nail polish decals using three of the stamping images and then colored them with acrylic paint. On my thumb and pinky nails I made a simple polka dot design with Flormar - 400 and Essie - Really Red. I'm not too happy with both of the speech bubbles because my black polish (H&M - Manhunter) really isn't the best choice for stamping. I guess I'm once again on the hunt for a new opaque black! On top is one coat of Essence - BTGN High Gloss. 


Roy Lichtenstein Pop Art Nails - MoYou London Pro Collection #10

Roy Lichtenstein Pop Art Nails - MoYou London Pro Collection #10

Roy Lichtenstein Pop Art Nails - MoYou London Pro Collection #10

Sonntag, 29. September 2013

Breaking Bad Nails #2 - Tread Lightly

I'm sad and excited at the same time because Breaking Bad is coming to an end tonight/tomorrow! I just had to do another BB design for the finale and I decided to challenge myself this time. My right hand and the index finger nail plus thumb of my left hand are done with the same technique I used for my last BB design. Everything else is done with acrylic paint. My favorite nail is the teddy bear which took me about 30 minutes alone... I wasn't sure I would be able to paint it first, but now I'm really happy with the result. I'm also quite satisfied with Heisenberg. Now about Jesse Pinkman: I painted him today, because I was too tired to finish the design yesterday and you can actually see that in the color change. I'm also not too happy with his facial expression but after trying several times I had to give up on getting it right. All nails are finished with two coats of BTGN Top Sealer to protect the acrylic paint from peeling off. So to all BB fans, enjoy the finale!

Breaking Bad Nails #2 - Tread Lightly


Breaking Bad Nails #2 - Tread LightlyBreaking Bad Nails Heisenberg


Breaking Bad Nails Jesse PinkmanBreaking Bad Nails Teddy Bear


Breaking Bad Nails #2 - Tread Lightly

Sonntag, 9. Juni 2013

Blue & Yellow

I realized today I'm really out of practice when it comes to to free-hand nail art. I painted this design with a nail art brush and I messed up some of the lines. Well, I need more practice! The colors were standing side by side on my desk, waiting to be stored again and I figured they would look good combined in a design. They're Essie - In The Cab-Ana, Avenue Maintain, China Glaze - For Audrey, Re-Fresh Mint and Anny - Sunshine In My Heart.  I used acrylic paint for the black lines. On Top is one coat of Essence - BTGN Top Sealer. 


Does anyone have a suggestion for a bright opaque yellow nail polish? Sunshine In My Heart is just almost opaque with three coats and actually it's not bright enough for me. What's your favorite?

Freitag, 7. Juni 2013

Deadly Sins Challenge - Day 14: Pride (Lemon Water Marble)

It's the last day of the Deadly Sins Challenge and the second day of Pride. I can't believe how fast these seven weeks went by and a bit sad it's over! I really enjoyed working at this challenge with all the other bloggers and I loved painting my nails based on given themes. The theme of Day 14 says: This is YOUR time! Brag about how good you are at...

Illustrations by: dahlig

Yay, bragging. So I know this will sound weird, because I mentioned this technique in my Wrath week. But actually I decided to 'brag' about Water Marbling, because even if it takes a lot of patience and can sometimes end in a disaster, it is the one technique that I improved the most in. While my first Water Marble was full of air bubbles and incomplete patterns, these days I usually manage to do a consistent and good-looking Water Marble. Then again, this is more a question of practice than of talent. This time I wanted to do a summer inspired marble and I chose white and yellow as my colors. I used two coats of Essie - Blanc as my base and then did the marble with Blanc, Anny - Sunshine In My Heart and China Glaze - Lemon Fizz. On top is one coat of Essence - BTGN Top Sealer. 


You can find all the designs of my Deadly Sins Challenge here. And please check out all the amazing designs by the other participants: 


Mittwoch, 29. Mai 2013

Deadly Sins Challenge - Day 11: Envy (Stripes & Flowers)

Day 11 of the Deadly Sins Challenge was something I was really looking for! This week's sin is Envy and today's theme says: Who would you like to be? Let us know recreating another challenger's work.

Illustrations by: dahlig
I chose to recreate a design by the amazing Brittney from Precious Polish because ever since I saw her French Riviera design, I fell in love with how beautiful those colors and patterns looked mixed together. I didn't have the exact same colors so I worked with what I had: Essie - Blanc, Bourjois - In The Navy, H&M - Lemon Tree and OPI - Friday Devil. On top is one coat of Essence - BTGN Top Sealer. So I still think the original colors look better and now that I look at her pictures again, I notice that I even forgot to paint the leaves! But nonetheless I really enjoyed wearing this design, it's so bright and colorful!


Sonntag, 21. April 2013

Born Pretty Store: Miki Nails - Water Decals A 1-23

I wasn't sure about publishing today's post, because I don't feel very comfortable with how my nails look today. In a moment of madness I decided to change back to round nails. I had regrets soon after and I'm not sure I will get used to the new look in the near future. Nonetheless I decided to let them grow a bit and then decide what to do. 

Since my first design today didn't work out, I tried my new water decals from Born Pretty Store. Because the last ones I tried were quite bad, I was curious about how the design A 1-23 would look in reality. And since I have the opportunity to review these for free, I thought I would try them again and tell you about it. First: The colors are definitely better, I'm not disappointed. Of course they look super bright online and they are a bit less saturated in real, but I think they look alright. Then application was the usual, it took me quite some time and I'm not very happy with the result. I feel like I could paint this design faster and would be happier with the result, but maybe I'm just too spoiled. They do look cool from a distance though! I used one coat of Star Nails - Nail Art Finishing Sealer first and then one coat of Essie - Good To Go. 


Have a look at my giveaway for a 20$ Born Pretty Store voucher, if you didn't already join! You can use my coupon code DEL91 for 10% off at Born Pretty Store. 


Mittwoch, 24. Oktober 2012

Sugar Spun Nails

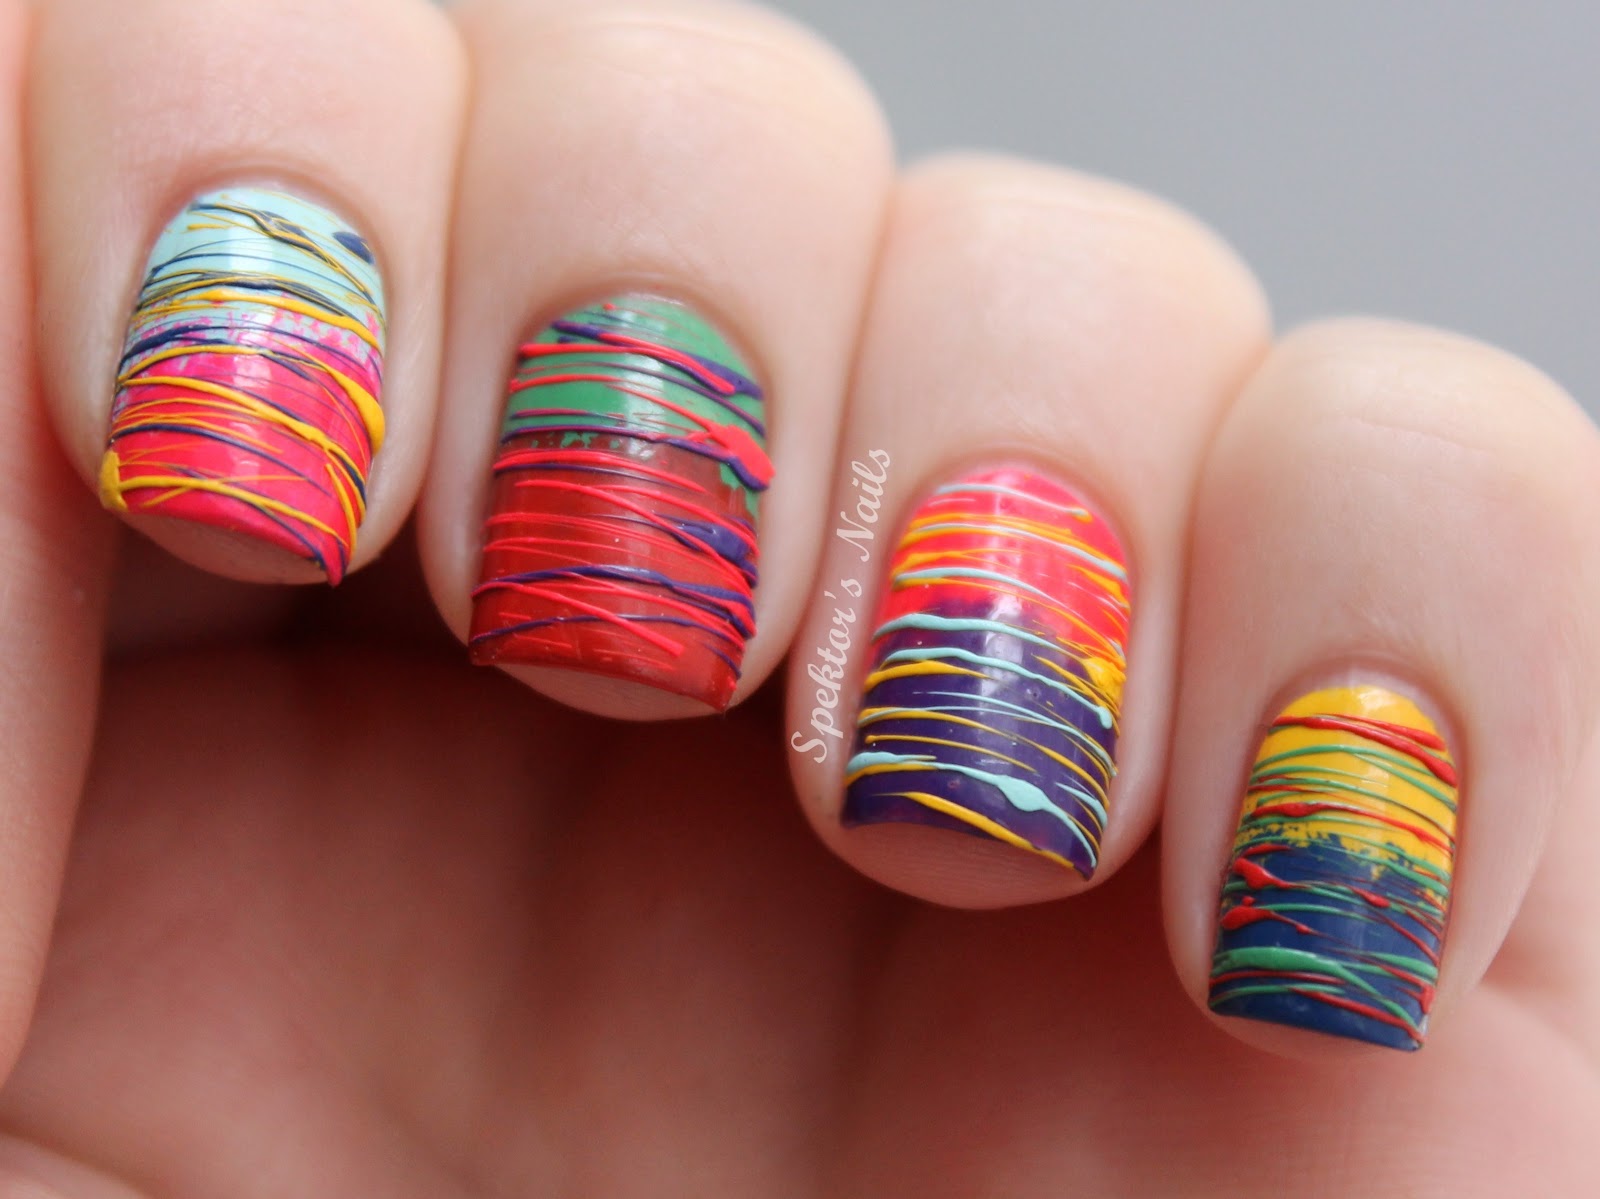
This weekend I found an amazing beauty & nail art blog: Just Tis Ems. Her nail art is so colorful and new, I love it! Especially her Sugar Spun Nails are amazing which is why I had to recreate them on my own nails. I didn't change a lot besides using different polishes and the gradient. I chose to do it more simple by using only two colors on each nail. I love the Sugar Spun technique, however it is quite time consuming. To do it faster you could prepare the polish upfront so you don't need to wait for it to get goopy. I used the following colors:

Essence - Bienvenido A Miami (Yellow)
Essie - Mesmerized (Blue)
China Glaze - Pool Party (Pink)
Essence - Passion For Fashion (Purple)
O.P.I. - Friday Devil (Red)
Essie - Mojito Madness (Green)
Essie - Mint Candy Apple (Mint)

I didn't use a top coat after the sugar spun to keep the special look. However it takes a little time to get used to the rough surface. Glitter nail polish without top coat is worse though!


And a creepy picture to go of both my hands: 


Thanks for reading!

Sonntag, 30. September 2012

Reasons Pusheen Loves Fall: Halloween / Fall Pusheen Nails

I know, I might be a little early for Halloween this year, but I am already in the mood for Christmas so time can't really go fast enough now. ;) 

The newest post on the Pusheen blog really caught my eye and I knew right away I had to do some fall/Halloween inspired Pusheen nail art. Check out my earlier Fancy Pusheen Nails and my Mexican Pusheen Nails as well, if you like that cat as much as I do! 


You can find the post I'm talking about here: Reasons Pusheen loves Fall! Too cute to be true. I used China Glaze - Papaya Punch as my base color, as always when it comes to orange. Everything else is done with acrylic paint and a nail art brush. 


If you're not too sure about my pinky and index finger nails, they're supposed to be leaves, as in the ones that Pusheen is sitting in and eating pie. I left out the pie though, since Pusheen was already sweet enough ;)


Montag, 17. September 2012

Mexican Sarape Blanket Nails


So yesterday was the Mexican Independence Day which inspired me to do some more Mexican nails. Have a look at my Mexican Pusheen Nails and my Mexican Flag Nails as well! 


This one was inspired by the typical traditional blanket called Sarape which is a very colorful and eye-catching piece of clothing. I didn't find a way to paint each nail with all the colors, so I chose one typical color pattern for each one. These are done with acrylic paint on a white base color and one top is one coat of Essie - Good To Go.


I've made the experience that my acrylic paint designs chip very fast and I'm looking for a way to prevent this. Has anyone an idea how to improve? Maybe I just didn't wrap them properly with my top coat, that could be the case...


I actually showed these nails to two Mexicans and they had no idea what it should illustrate... first guess was "Germany?" Haha! So either I did something wrong or it is just not as popular as I thought. I like the colors anyway ;)

Freitag, 7. September 2012

2 Broke Girls Nail Art

I have recently discovered a new show on TV: 2 Broke Girls on CBS. I absolutely love the show and it actually caught my eye because Kat Dennings aka Max really reminded me of my dear Regina Spektor. Max is my favorite actress of the show, love her humour! Make sure to watch an episode someday soon to check if it's your kind of series as well! Season 2 will start on 24th of September.

2 Broke Girls Nail Art

So I decided to do some nail art based on the show. If you have seen it, you know that the dresses of the two waitresses are really eye-catching. That's why I decided to make them a central piece of the design. I used American Apparel - Summer Peach for the skin and yellow and red acrylic paint to do the dresses. I didn't dare trying to paint the boobs so it's not quite right... ;)

2 Broke Girls Nail Art

For my other nails I chose the show's logo composed of a white and a pink writing. Both are done with acrylic paint and it took my quite some time to get an even covering over my black base (Wet 'n' Wild - Black Creme). Since Max and Caroline want to start a Cupcake Business, I decorated my thumb with a cupcake. This was actually my first time doing cupcake nails and I took Simply Rins nails as a guideline. 

2 Broke Girls Nail Art

I used Essence - White Stamping Polish as a base and then added the topping with China Glaze - Something Sweet. The cup is done with red acrylic paint and the sprinkles come from my new nail art glitters (check my Facebook to see what I got yesterday!). On top of every nail is one coat of Essie - Good To Go. 

Montag, 3. September 2012

Color Frazzles

What I had in mind starting this design were some very colorful Aztec Nails. I prepared various decals the day before on a plastic bag and let them dry over night. My plan was to cut them into triangles and other shapes and then stick it onto a black and white base to create Aztec Nails 'the easy way'. 


As soon as I started to peel the decals off the plastic, they broke into pieces. So I decided to stick them on anyway since I had already done my base with two coats of Essie - Blanc and some stripes with Wet 'n' Wild - Black Creme. I peeled off all the decals and shaped them into tiny pieces with tweezers. Then I added one coat of clear nail polish and placed them onto the nails one by one. 


The colors I used for the decals are Essence - Bienvenido A Miami (Yellow), Essence - Naughty And Pink, Essence - Wake Up (Orange), Catrice - Run Forest Run (Green) and Essence - Walk On Air (Blue). Sadly most of them weren't opaque over black so I tried to place them mainly onto the white base. 


There is one coat of Revlon Quick Dry Top Coat on top. I experienced some bubbling on a few nails, probably because I applied too much of the clear polish underneath. Apart from that it worked quite good with the decals even if I wanted to shape them into triangles first. Maybe I let them dry for too long so they weren't soft enough for cutting in shapes. It probably would have worked with a shorter drying time. 

Sonntag, 12. August 2012

Pastel Watercolor Nails

As promised the next version of my watercolor nails, done with a plastic bag just like my first try. 


I started with Essie - Blanc again to create an even base and then added blobs with the following nail polishes:

China Glaze - Something Sweet
China Glaze - Lemon Fizz
China Glaze - Re-Fresh Mint
Manhattan - 81C


One coat of Revlon Quick Dry Top Coat on top.

Mittwoch, 1. August 2012

Beauty Staffellauf Sommerzeit / Summertime

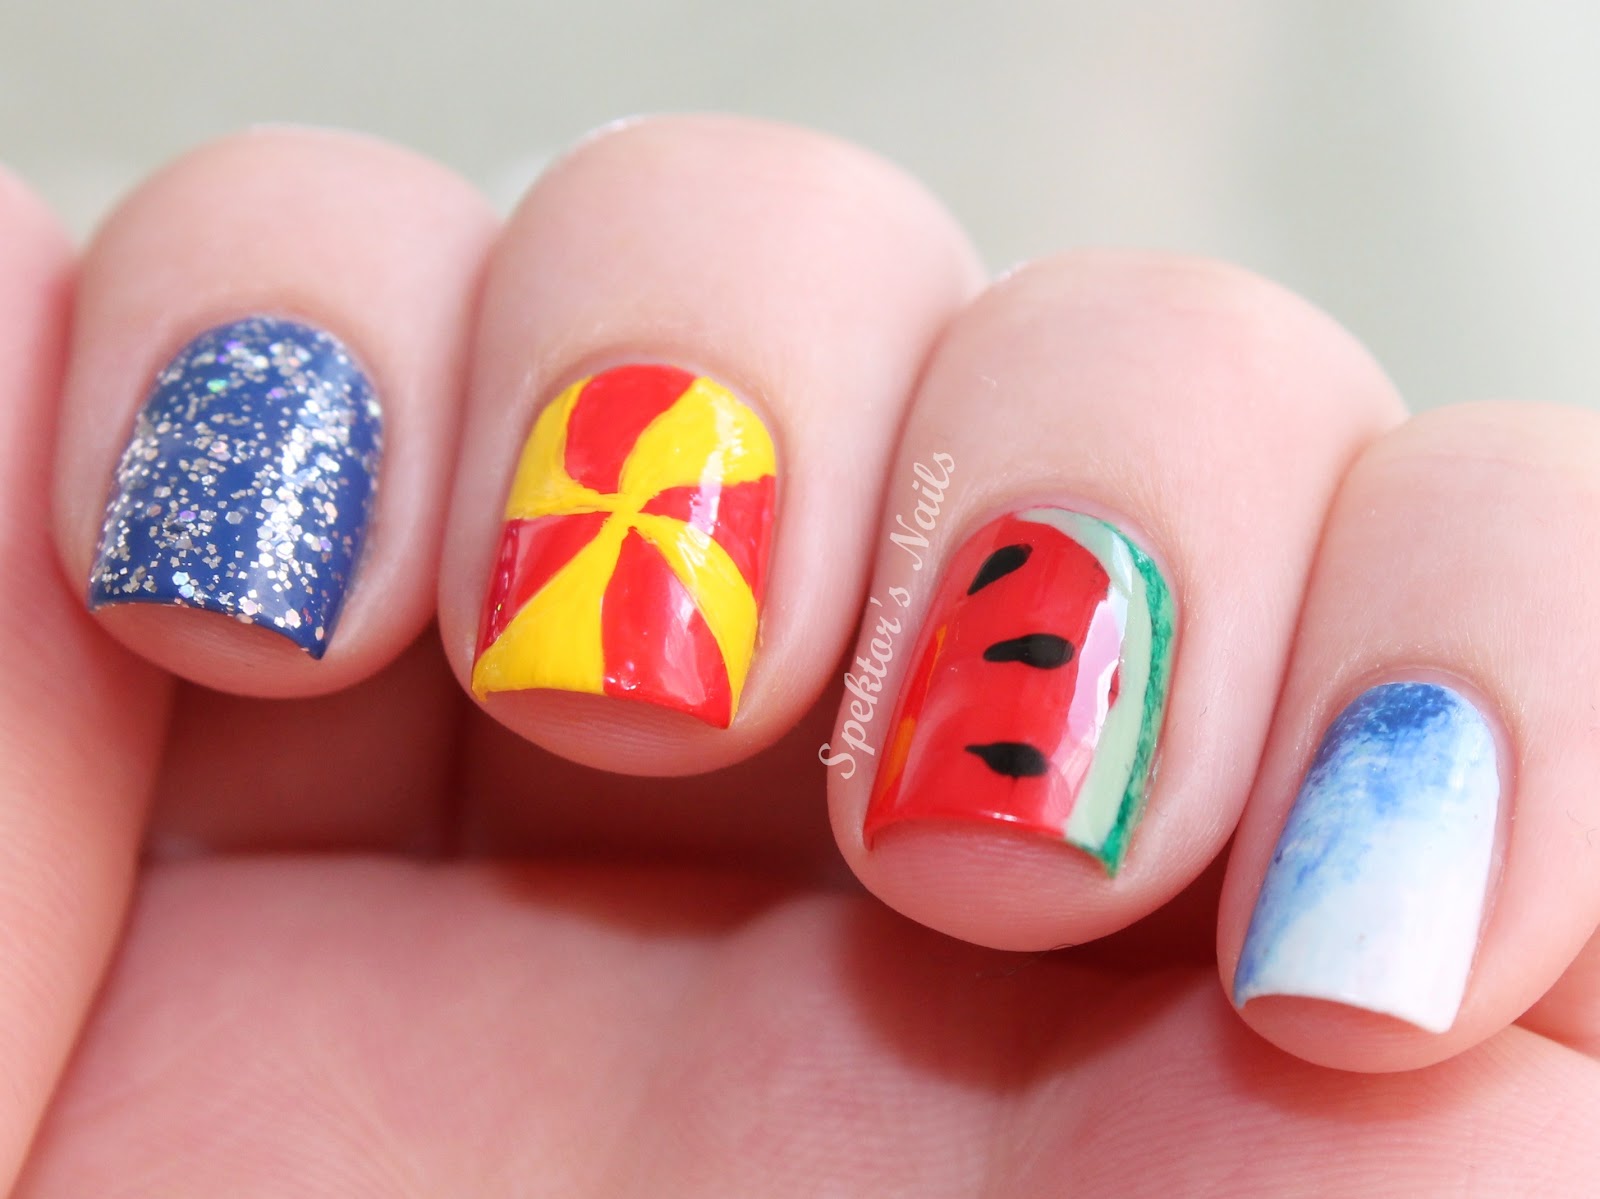
I'm participating in a contest! I had to creat nail art inspired by a theme that was chosen for me: Summertime! My posting today is in german, since the contest is open for Germany, Austria and Switzerland only.


Jule von lackfein hat mich zu Ina's Beauty Staffellauf getaggt. Als Thema für mein Design hat sie "Sommerzeit" gewählt und das hab ich draus gemacht:


Sommer Skittles! 

Zeigefinger / Wasser: Essie - Mesmerize + China Glaze - Nova 
Mittelfinger /  Wasserball: Essie - Too Too Hot + Gelbe Acrylfarbe 
Ringfinger / Wassermelone: Essie - Too Too Hot + Essie - Mojito Madness + Catrice - Sold Out Forever 
Kleiner Finger / Wellen: Essie - Blanc + Essence - Speed Of Light Blue + H&M - Blue My Mind + Essie - Mesmerize


Ich tagge Lani von Lani's Random Blog mit dem Thema Sugar & Sweets.